Extended time in isolation has fueled the sparks under our joints to finally pursue the indoor home grow. Although there’s ease with mastering the outdoor grow during Oregon’s glorious 12 hour day/ night cycles, there’s also intrigue to leveling up by bringing the buds inside.
When parenting your own micro ecosystem, every tiny detail and decision is crucial for the success of your plant babies. Being a baller on a budget creates some constraints on the process. It may be intimidating to start. This simplified guide serves to inspire every homebody home grower to get the process started. Doing your own research for your unique situation is highly encouraged.
Step 1: Where are you growing?
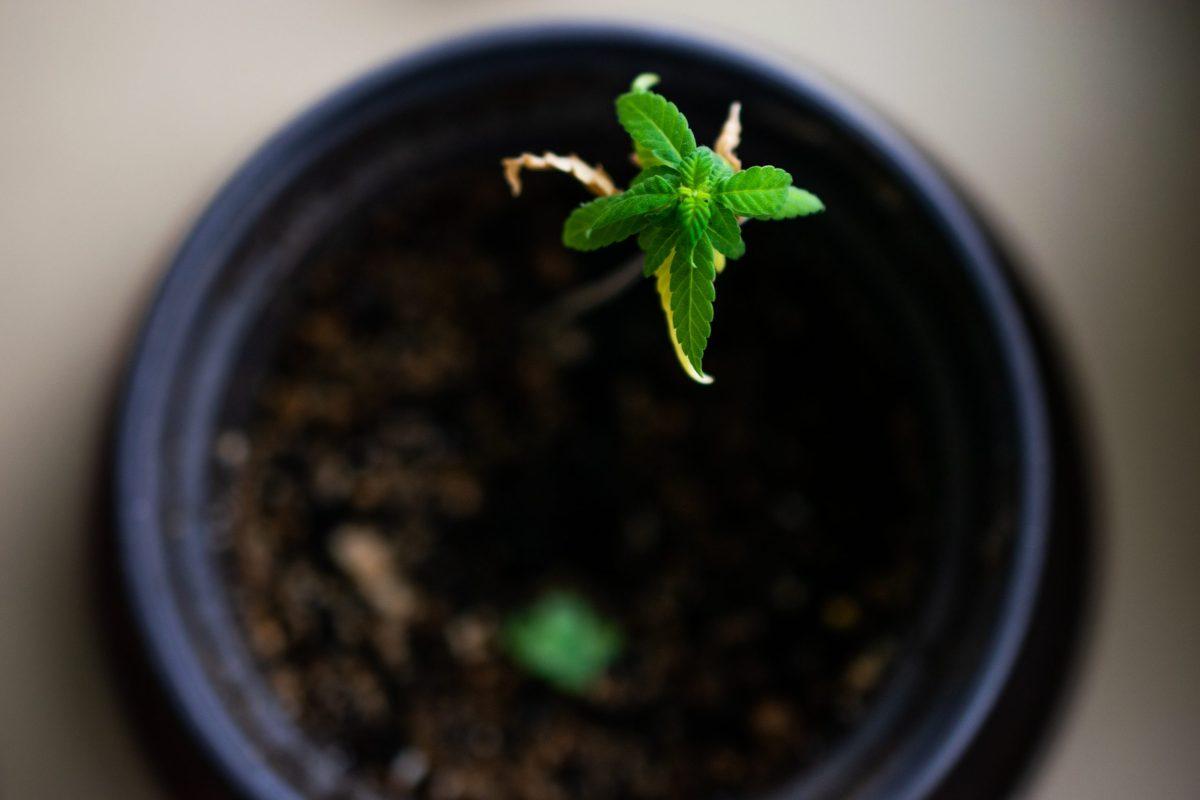
My first attempt at an indoor grow had failed miserably in Arizona while choosing to set up in a closet with very little airflow. I was also in the process of moving which undoubtedly put the youngling under immense stress during relocation. My research on setting up in a closet was very limited which is how I quickly learned the hard way after coming home to a crispy green carcass.
The first question you should ask yourself is: where will I grow?
If choosing a room, remember that any and all light the leaves can access will induce photosynthesis. As each strain requires its own specific lightcycle, access to other light may confuse the plant if it’s outside of the scheduled ‘daytime.’ The amount of intended light the plant receives should be consistent. It’s also necessary to monitor for signs of too much or too little light as indicated by the leaves.
Closets are ideal for a DIY situation, it’s just crucial to make sure the space between the plants and the light source are far enough to prevent burning the leaves or cooking the plant entirely. Depending on the strain choice, some plants may need to be closer to the light source than others. In small closed off areas, you’ll most likely need fans for cooling and venting purposes.
Step 2: What are you growing?
If you’re a real baller on a budget, odds are you may have stored some random seeds you found in your buds. Experimenting with these are low stakes; alhough, the sex characterstics of these seeds will be unknown until investigating after the vegetative stage and before the flowering stage. I do encourage doing your own research if going this route.
Back to elementary bean sprouts, starting cannabis seeds can be as easy as wet paper towels and a plastic bag. This route allows you to witness sprouting and daily progress growth. Otherwise, using a seed starter that places seeds directly into a soil can feel like a guessing game, though totally manageable.
Researching beginner strains is helpful in the long run while causing far less stress on a new grower. Autoflowering strains are known to provide successful yields due to strong genetics that allow the plant to do most of the work with low maintenance. Personal favorite strains like Jack Herer, Northern Lights or Blue Dream can be a good place to start, depending on what the grower wants for the end product.
Local shops do provide seeds, though some hunting is required. These are relatively pricier than what I was able to find online like Seedsman Seeds, a European company known for super discreet packaging. Online options are seemingly endless, allowing any grower to find exactly what they’re looking for and see reviews of the process or yield.
If you’re hoping to get growing sooner, skip the germination process entirely. Plenty of dispensaries around town offer clones. It’s like pet adoption, but they won’t pee on your couch.
Step 3: What lights do you need?
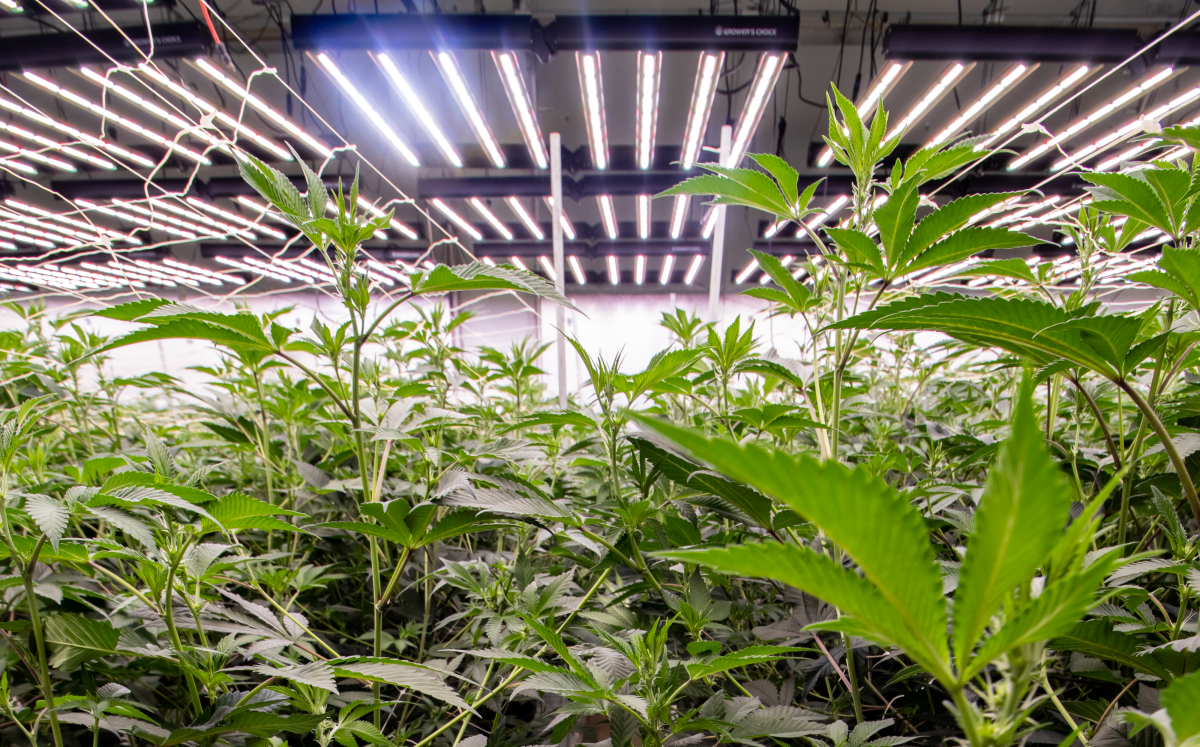
This question also reflects how much you wish to yield. Monthly energy cost is also a considerable factor. Before making the purchase of what is considerably the biggest investment within this process, I highly recommend surfing the internet for used lights first.
The three ideal types of lighting for indoor growing are fluorescent, high intensity discharge and LED. For the purpose of simplification, fluorescent lighting is ideally a good start. CFLs (swirly-looking light bulbs) provide an average yield of one to two ounces, great for a beginner. These can be beneficial for smaller spaces where big lamps wouldn’t fit. T5 tube fluorescents are also recommended for a higher yield and can be easily found in gardening and home improvement stores.
For a slightly spendier commitment, LED lights are highly common for indoor growing. These have a safety component by having built-in cooling elements while also not needing to be frequently moved like fluorescent lights. Typically, more vertical space is needed between the plant and the LED light. Fans are still recommended since LED lamps can be tricky to get the hang with no set standard.
Step 4: What containers, soil, nutrients?
On a tight budget, I’ve tried using local compost but the critters that came along with it made it hard to control the indoor environment the way that I needed to. I was able to bake the soil at 140 degrees F, killing the pathogens and allowing beneficial microorganisms to survive. If needed, I could go this route with cannabis while more attention to nutrient levels would be needed.
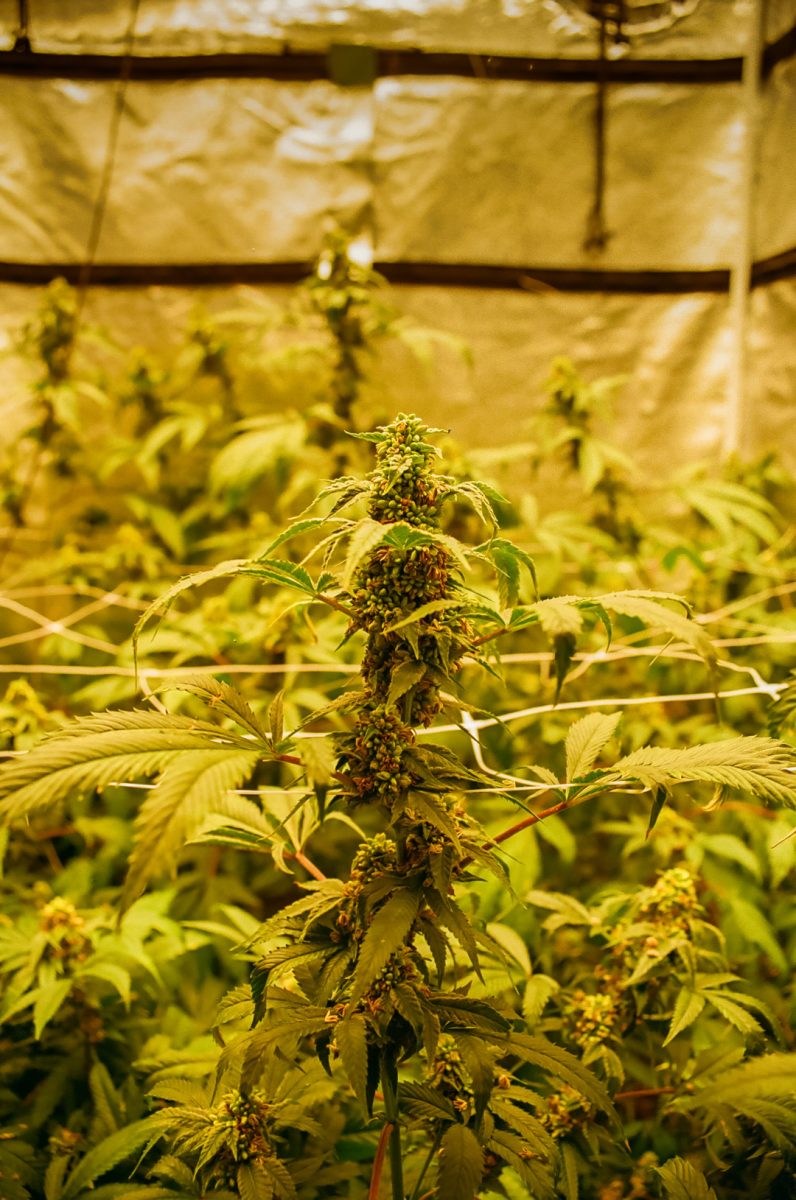
Soil is something I don’t mind spending on. Foxfarm soils provide a nutrient dense environment that plants thrive off of until needing later-in-life assistance. During the vegetative stage, your plant is craving nitrogen (N). The flowering stage calls for very low nitrogen, instead needing phosphorus (P) and potassium (K). Getting to know the plant’s signs throughout the process is helpful in understanding when to feed it what. Don’t be shy, these are your children.
When choosing a container, keep in mind that the size of the root space is relevant to the size of the growth. Breathable root pouches are my go-to: they last a long time, washable/reusable and provide the root space sufficient aeration and drainage. Otherwise, five gallon buckets with proper drainage are plenty fine.
Step 5: Happy Growing!
Of course the process of successful cannabis cultivation requires far more intermittent steps and a healthy dose of trial and error. Get to know your grow; usually it will communicate in some form about what it needs from you. If you’re ever unsure, YouTube has everything. We all start somewhere.
Hopefully this simplified guide reminded you of your green thumb while taking away some of the intimidating aspects. Besides, it’s pretty cool to be able to give your friends a nug you raised.
If this guide assisted your set up, show us on Instagram @GreenEugeneMag!


